Recessed Downlight Layout and Spacing for Residential Projects
December 19, 2024 · 6 minute read
A downlight layout is drawn, not guessed, and the drawing is easy once you have three numbers: the light level the room needs, the beam of the fixture, and the height of the ceiling. What follows is the method we use, with a kitchen worked through so the arithmetic is visible. It is the companion to our guide on choosing the fixture itself; this piece assumes the fixture is chosen and asks where it goes.
1. Decide the job of each fixture before placing any
Every downlight on the plan is doing one of three things: general light across the floor, task light on a surface, or accent light on a feature. Label each one. General fixtures follow a spacing rule. Task fixtures go where the work is, regardless of the rule. Accent fixtures go where the aiming geometry puts them. A layout that treats all three the same, on one grid, is the layout that lights the floor and leaves the counter dark.
2. Work out how many, from the light level
Start with a target in footcandles, which is lumens per square foot. Living rooms 5 to 15, bedrooms 5 to 10, kitchens 30 to 50 on the counters and 10 to 20 on the floor, bathrooms 30 to 50 at the mirror, corridors 5 to 10. Then a rough lumen method: multiply the target by the floor area to get the lumens needed on the floor, and divide by about 0.6 to allow for light lost to walls and the fixture's own optic. That is the lumens the fixtures must deliver between them.
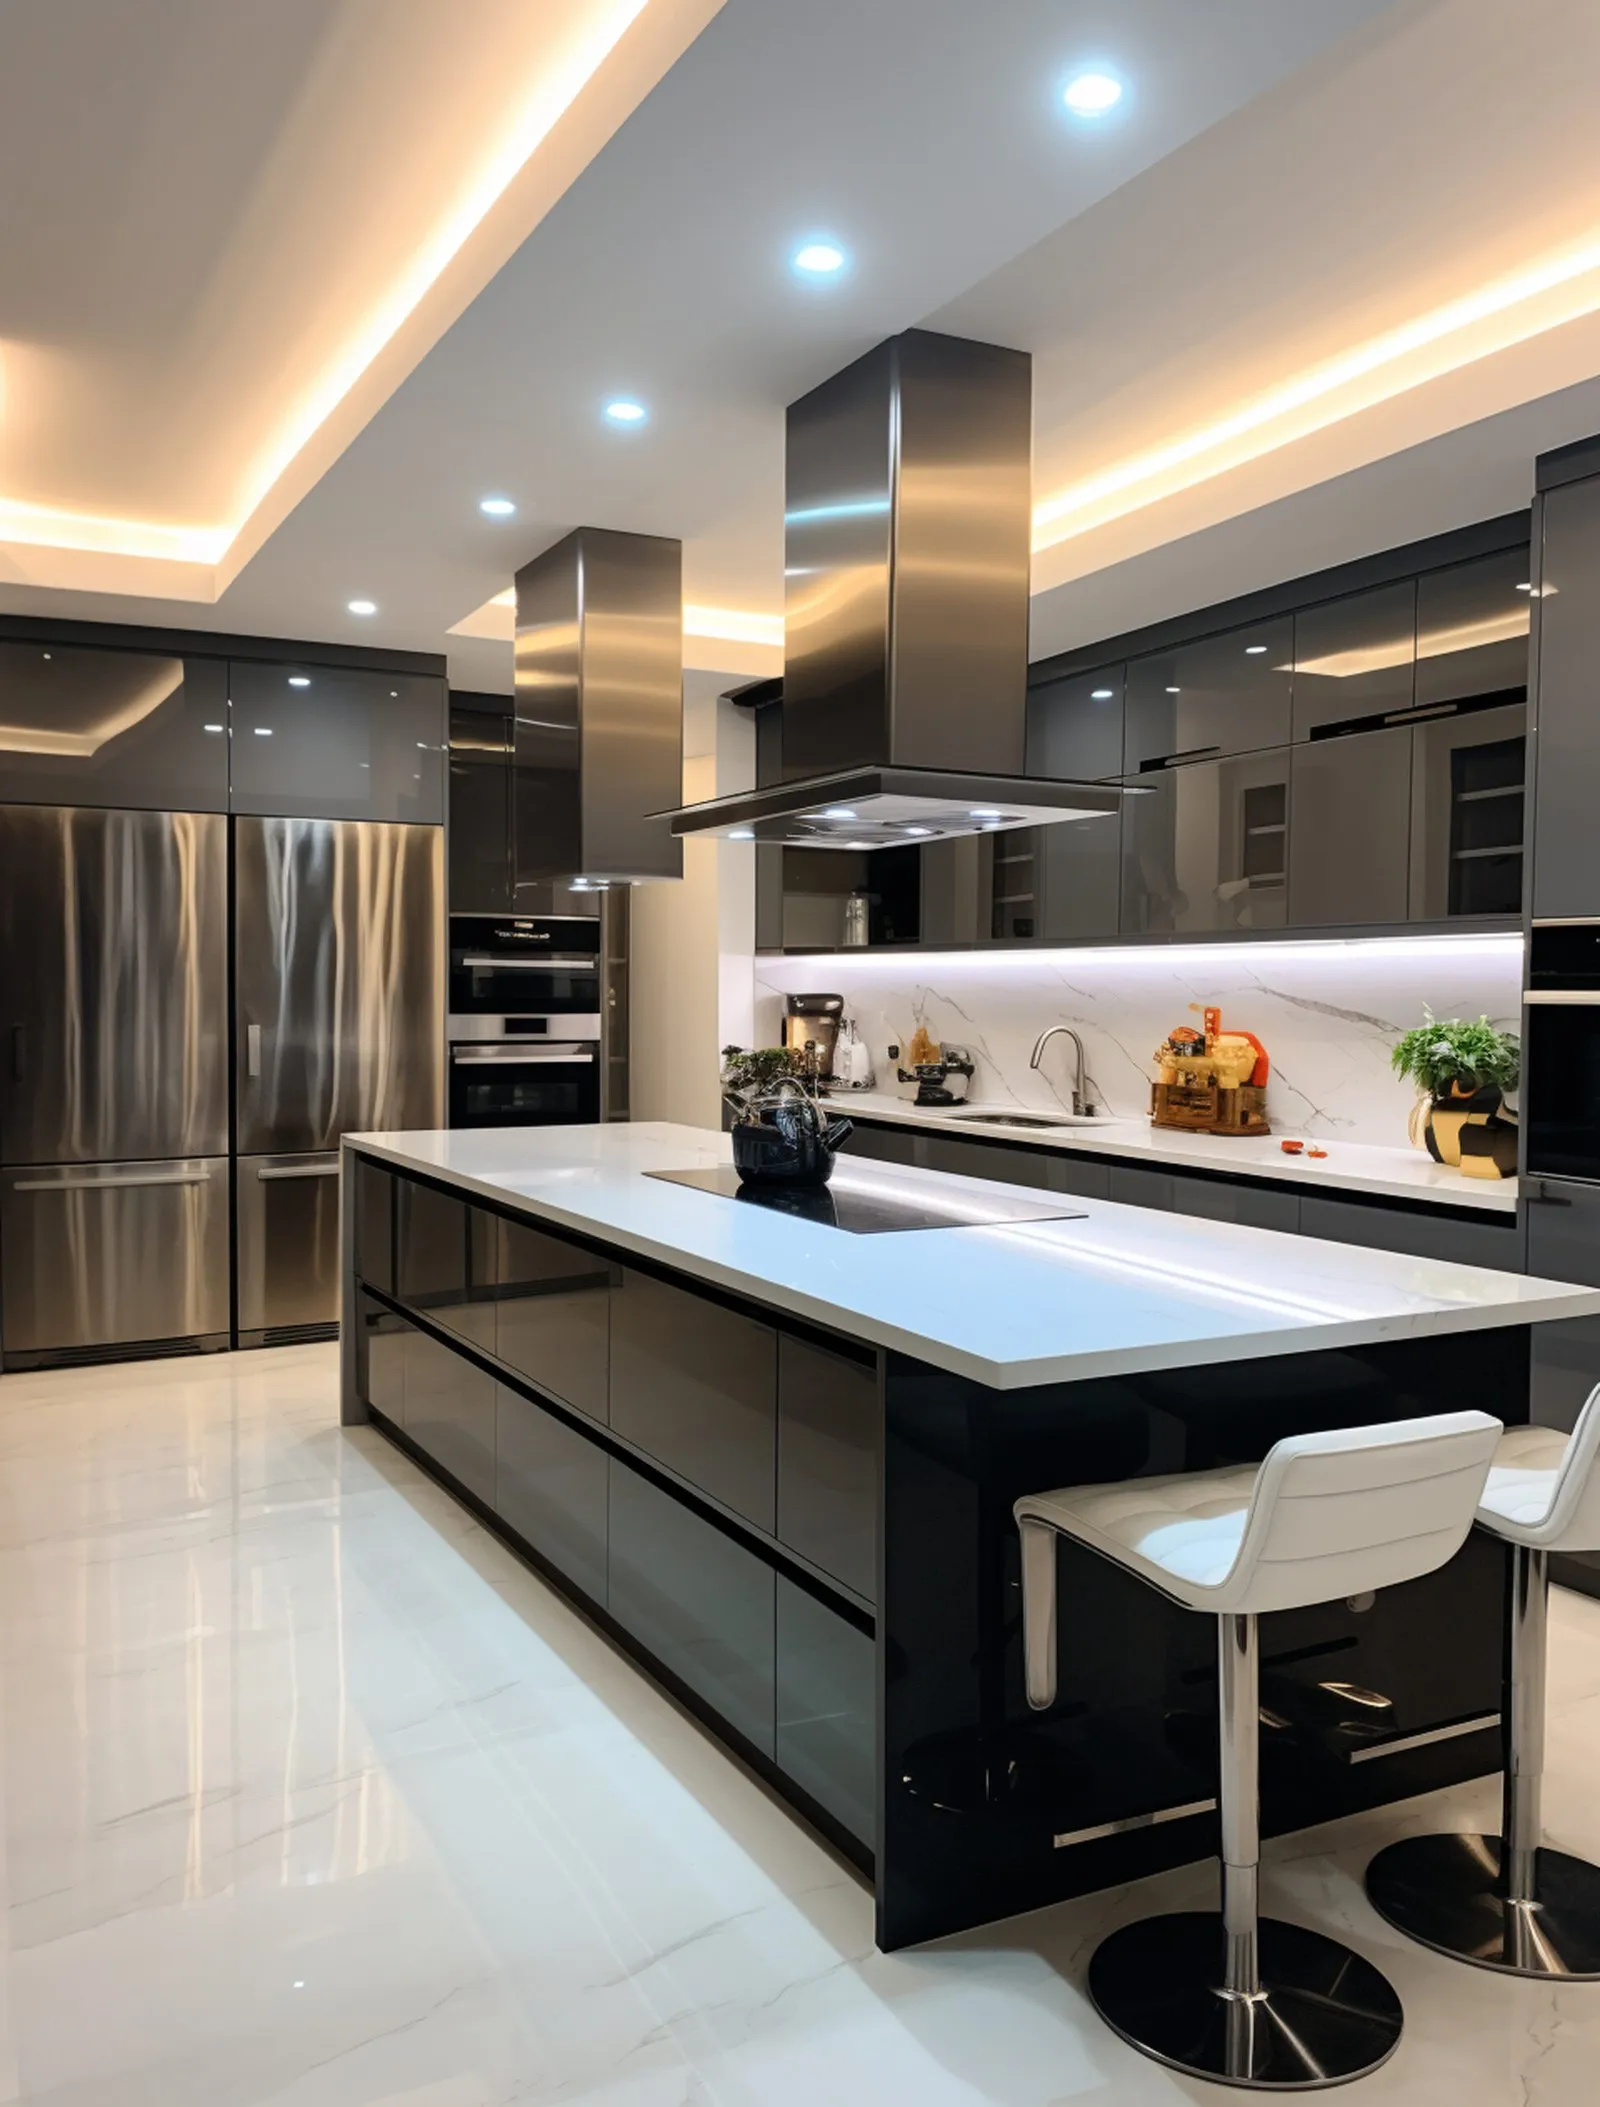
The kitchen example: 12 by 15 feet, 180 square feet, targeting 30 footcandles average. That is 5,400 lumens on the work plane, or about 9,000 lumens from the fixtures. A 3 inch downlight with a 15 watt chip delivers on the order of 800 to 1,000 lumens depending on the beam, so the room wants nine to eleven fixtures for its general layer. Task fixtures over the counters and island come on top, and the general count can drop a little to compensate.
Two cautions. This method is a first pass, and the proper answer comes from a photometric calculation with the fixture's IES file, which is what our lighting design service produces. And most residential rooms are over-lit by this method if the target is chosen carelessly; a living room does not want 30 footcandles, and the fixture count should reflect that.
3. Space them from the beam and the ceiling height
The distance between general fixtures is set by how far each one throws before its light falls off. The formal version uses the spacing criterion in the IES file, multiplied by the mounting height above the work plane. For a wide beam residential downlight the criterion is close to 1, so on a 9 foot ceiling with a counter at 3 feet the fixtures can sit about 6 feet apart and the light between them stays even. For a narrower beam, or where the surface itself is the task, tighten it to 4 to 5 feet.
The old rule of half the ceiling height apart, 4 feet on an 8 foot ceiling, comes from this and errs on the dense side. It is a safe default when the fixture data is not to hand, and it is why so many kitchens have too many downlights.
4. Keep them off the walls, unless they are meant to wash the walls
A general downlight closer than about 2 feet to a wall throws a scallop of light down it, which is fine if intended and distracting if not. Hold the first row 2 to 3 feet from the wall. The exception is a deliberate wash: a row of wide beam or wash-optic fixtures set at about a third of the wall height out from the wall, spaced at that same distance, lays an even sheet of light down it and makes the room read larger. Decide which walls are washed on purpose, and keep the others clear.
5. Put task fixtures over the work, not over the room
This is the rule that fixes most bad kitchens. A person at a counter stands about a foot in front of it. A downlight centered on the room sits behind them and lights their back. A downlight over the front edge of the counter, about 24 inches out from the wall, lights the counter and their hands. Run the counter fixtures along that line at 3 to 4 foot centers and treat them as a separate circuit from the general layer. The same logic puts the vanity fixtures over the front edge of the basin, the desk fixture over the front third of the desk, and the island fixtures over the island rather than either side of it.
6. Place accent fixtures from the geometry
Adjustable downlights aimed at a wall piece should reach it at about 30 degrees from vertical, which from a 9 foot ceiling puts the fixture 2 to 3 feet out from the wall for a piece at eye level. Closer and the frame shadows the picture; further and the light reflects off it. Our adjustable fixtures tilt 20 degrees and rotate 360, so the position is set by that geometry rather than by the grid. Mark accent fixtures on the plan with an aiming arrow so the electrician orients the housing the right way.
7. Coordinate with what is already in the ceiling
A layout drawn on the floor plan meets reality in the ceiling void. Before the plan is issued, overlay the joists, the duct runs, the sprinkler heads, the smoke detectors and the speakers. Joists at 16 inch centers mean a downlight cannot sit anywhere it likes; shift the whole row rather than one fixture, so the line stays straight. Where a fixture lands under a duct, a shallower housing or a surface mounted cylinder is the answer, not a gap in the row.
Insulation matters too. Anywhere the housing meets insulation, which is most ceilings under a roof, the fixture must be IC rated or the insulation held clear. Specify the IC housing at layout stage; it is not something to discover at rough-in.
8. Set the color temperature and the dimming with the layout
One color temperature per sightline, applied to every fixture on the plan: 2700K or 3000K in living spaces, 3000K in kitchens and bathrooms. Then group the fixtures into circuits by layer, general, task and accent, and give each its own dimmer. The circuiting is drawn on the same plan as the layout, because a fixture's position and its circuit are decided together. Match the driver to the dimmer: TRIAC for a standard wall dimmer, 0-10V or DALI-2 for a control system.
9. Draw it, then check it
The finished plan is a reflected ceiling plan: every fixture dimensioned from the walls, labeled by type, with aiming arrows on the adjustables and circuit numbers on all of them. Before it goes to site, check three things. Do the rows line up with the room and with each other? Is every counter, basin and desk lit from the front edge rather than from behind? And does the count match the light level, rather than the room simply having as many downlights as the ceiling would take?
The kitchen example ends with eleven fixtures: four along the counter edge for prep, three over the island, and four general fixtures on the walkway side, on three circuits, at 3000K, all on a 3 inch trimless aperture. That is fewer than the sixteen a 4 foot grid would have produced, and every one of them is doing a named job.
Send us the plan and we will return the layout with the light levels calculated from the fixture photometrics, dimensioned and circuited, so the electrician is working from a drawing rather than a rule of thumb.
Planning a project? Our lighting design service turns plans into a photometric plan, fixture schedule, and final aim. Start with a design brief.