Kitchens get more light fixtures than any other room in a house and are still, more often than not, the worst lit. The usual failure is a grid of downlights that lights the floor beautifully while the person at the counter works in their own shadow. Below is how we plan a kitchen, with the numbers we design to and the four or five fixture types that end up on most of our kitchen schedules.
Decide what the kitchen is for, then light each job
A kitchen has at least four lighting jobs going on in one room. Prep needs strong light on a horizontal surface. Cooking needs the same at the range. Eating or sitting wants lower, warmer light. Circulation just needs enough to walk through. One fixture type cannot do all four, so layering in a kitchen is not a stylistic choice but a functional one.
The targets we design to, measured at counter height: 30 to 50 footcandles on prep surfaces and at the range, 10 to 20 across the floor for general light, and at the island or table a scene that can drop to 5 or lower for the evening. A footcandle is one lumen per square foot. A bright office runs around 50; a living room in the evening perhaps 10.
Layer one: downlights for general light, placed for people
Downlights carry the general layer. The mistake is placing them on a symmetrical grid centered on the room. Place them relative to where people stand. A downlight above the front edge of the counter, about 24 inches out from the wall, lights the work surface and the cook's hands. Centered on the room, it sits behind the cook and lights the back of their head.
A 3 inch aperture with a 50 degree beam from an 8 or 9 foot ceiling covers a counter run well when spaced 3 to 4 feet apart along it. Use fixed downlights along the counters and one or two adjustable ones aimed at whatever is worth showing: a tiled splashback, open shelving, a stone wall. Trimless or micro-flange trims keep the ceiling quiet, which matters in a room with this much going on below it.
Round or square is a design call, since the optics are the same. Square reads more structured over a run of cabinets and needs to align with them precisely. Round is more forgiving in a plastered ceiling that is not perfectly flat.
Layer two: task light under the cabinets
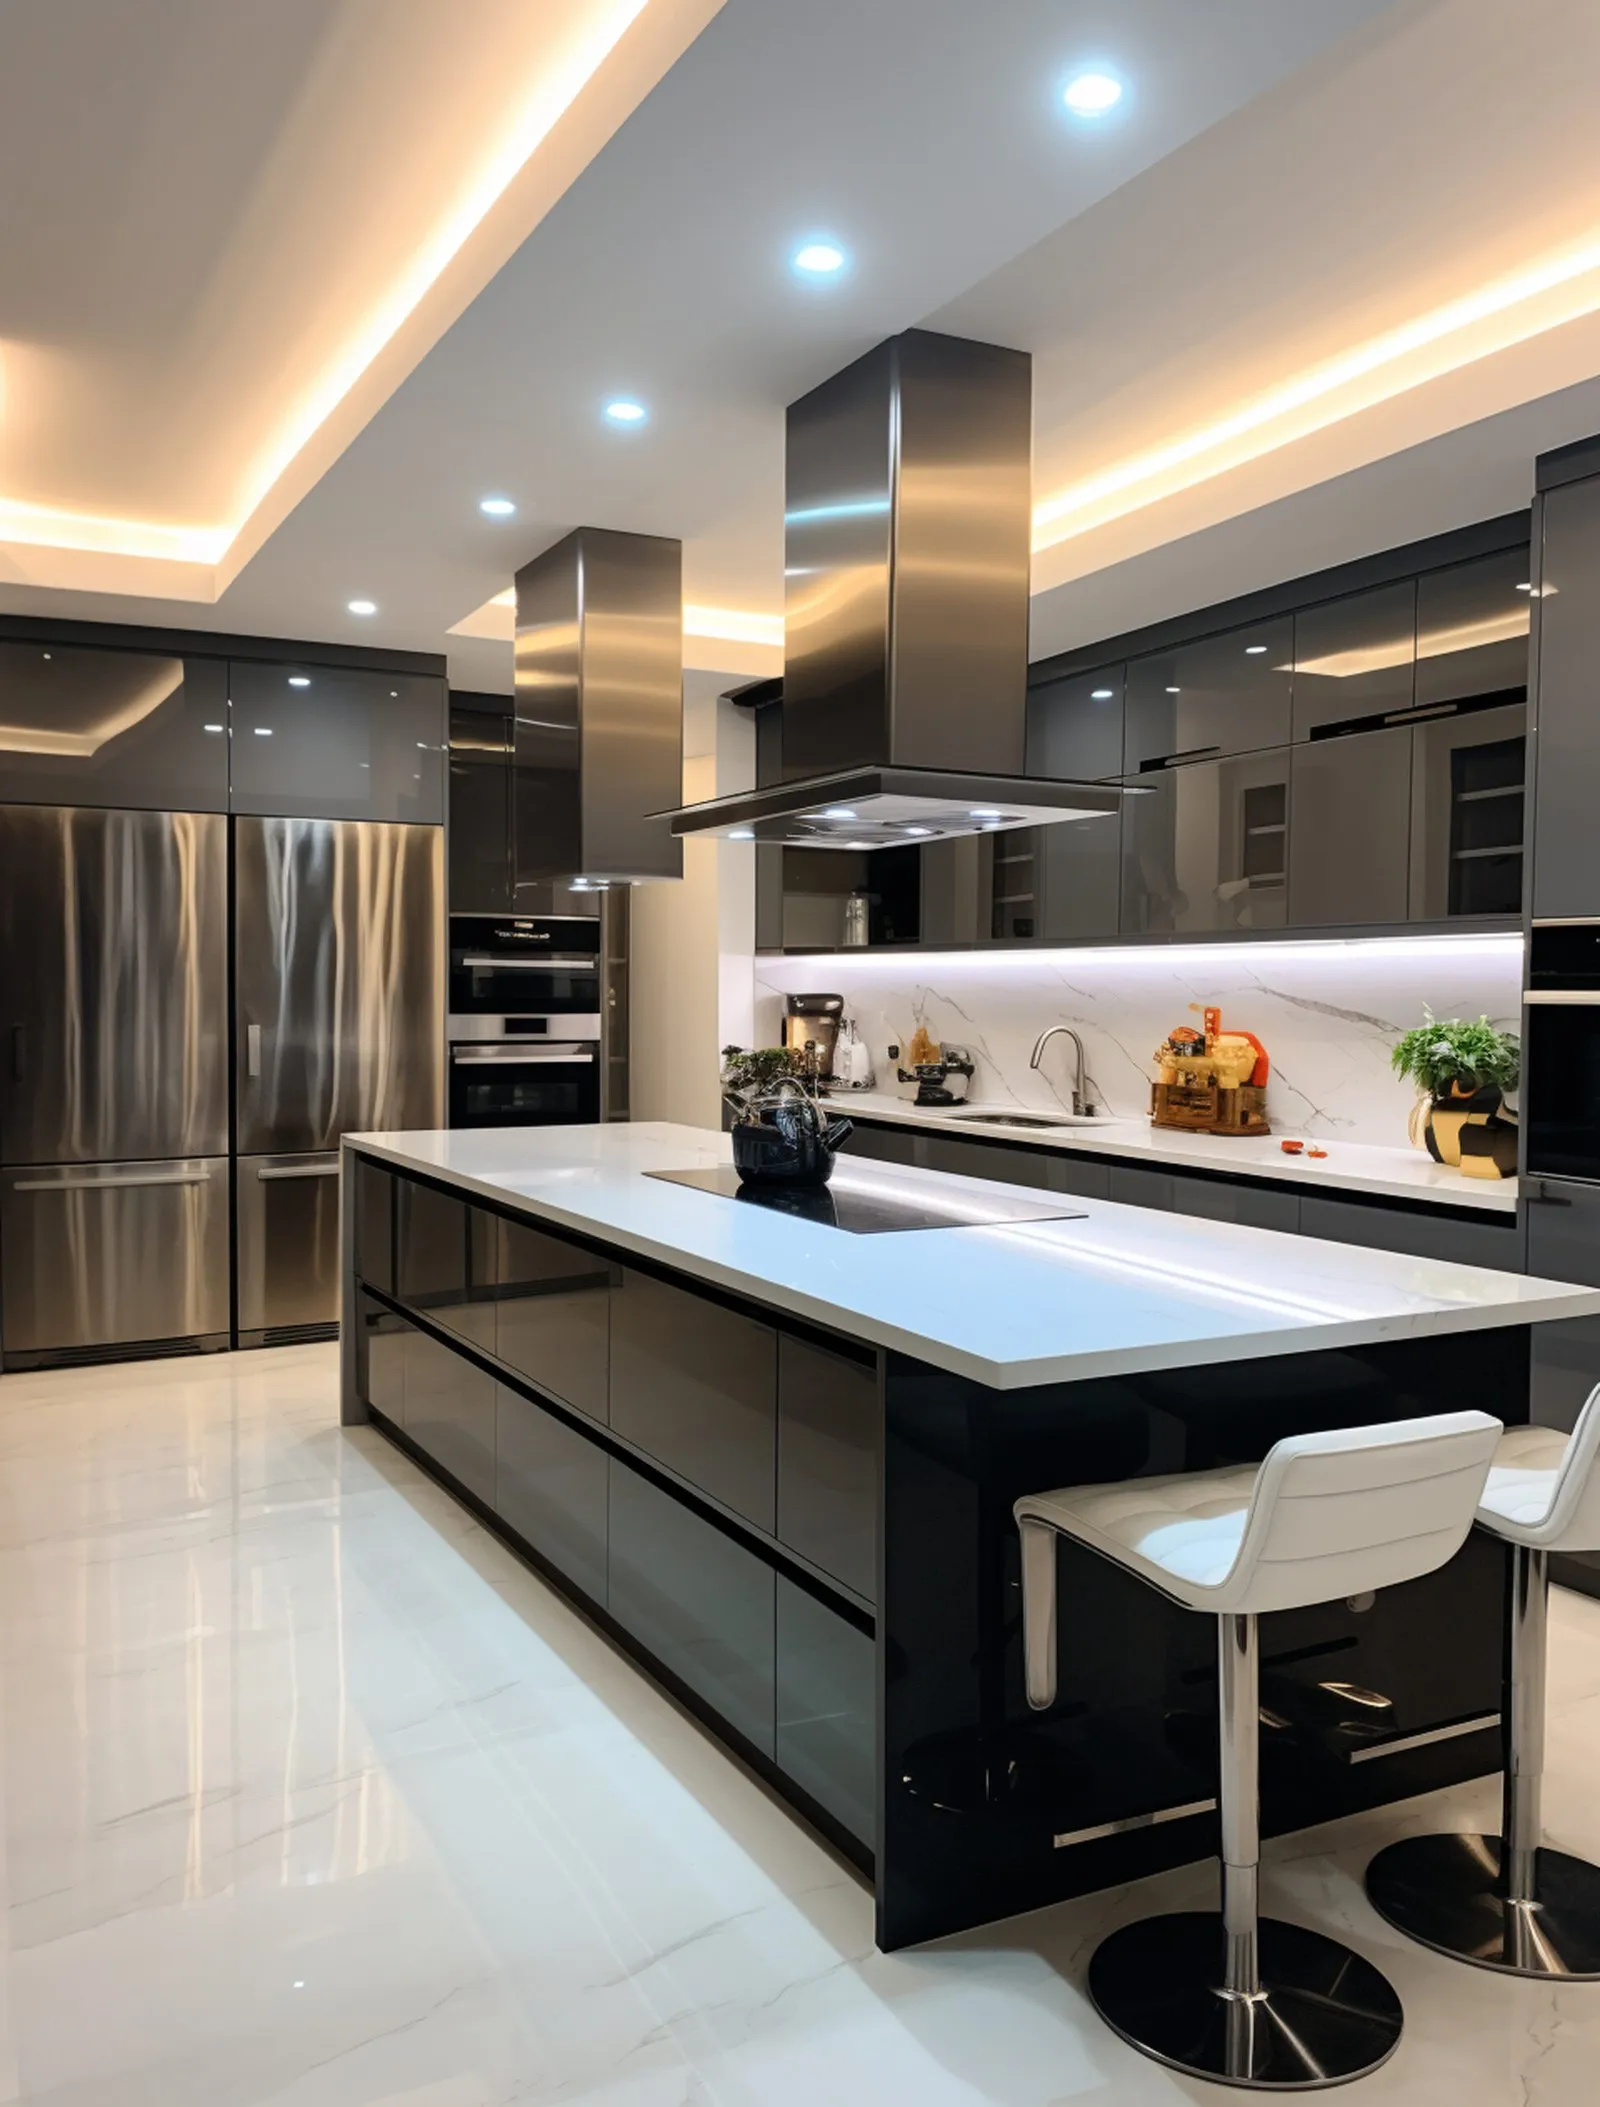
Under-cabinet lighting is the most useful fixture in the room and the one most often left out. It puts light on the counter from a foot above it, with no body in the way. Use LED strip in an aluminum profile with an opal diffuser, so you see a line of light rather than a row of dots reflected in the counter. Mount it at the front edge of the cabinet underside, not the back, aimed straight down or slightly toward the wall. Mounted at the back it lights the backsplash and leaves the front of the counter dark.
On a polished stone or glossy counter, a micro-prismatic diffuser cuts the reflected glare that an opal one leaves. If the cabinets have no light rail to hide behind, a recessed profile routed into the cabinet base keeps the strip invisible from a seated position.
Layer three: the island
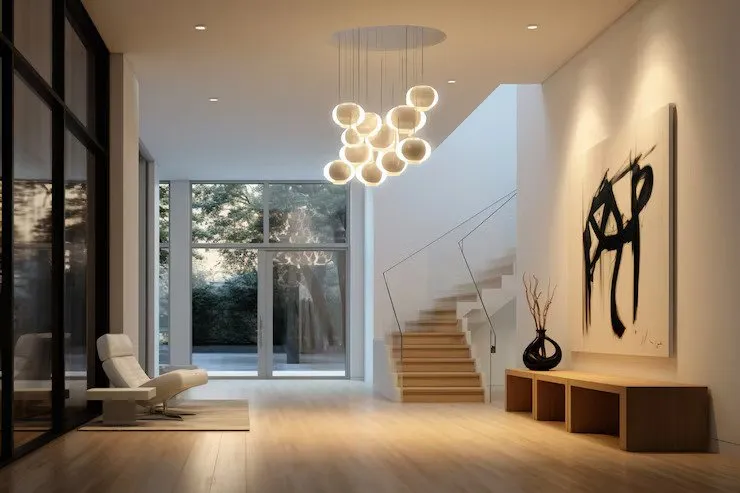
The island is where the room's character usually gets decided. Pendants are the decorative choice and they work, provided the bottom of the pendant sits 30 to 36 inches above the counter and the pendant actually throws light downward. A great many decorative pendants are lovely to look at and put almost nothing on the surface, so back them up with downlights or a track.
Magnetic track over an island is the flexible choice, and the one we specify most. A single recessed or surface mounted 48 volt channel carries spots for the work surface, a linear module for even light, and pendants on the same rail. Everything moves by hand. When the island becomes a homework desk, a spot slides over. The slim 1 inch profile disappears into a residential ceiling; the standard 1.5 inch profile takes larger optics for taller rooms.
Layer four: the details
- Toe-kick lighting: a strip at floor level along the base of the cabinets, on its own circuit, gives a night light that does not wake the house.
- Inside glass-fronted or open cabinets: a vertical strip at the front edge lights the contents without the fixture showing.
- Over the sink: usually the darkest spot in the kitchen. One dedicated downlight, aimed at the basin.
- The range hood: most ship with weak lamps in a random color temperature. Check it matches the rest of the room, or you get a small yellow or blue island over the cooktop.
One color temperature, and a way to warm it
Keep the whole kitchen on one color temperature. 3000K is the usual answer in a house: warm enough to be comfortable, neutral enough that food and stone look right. Go to 2700K if the kitchen opens onto a living room that runs at 2700K. Mixed Kelvin in one sightline is the quickest way to make good fixtures look cheap, and the range hood and the under-cabinet strip are where it usually goes wrong.
For the evening, a dim to warm option drifts the downlights from 3000K toward 1800K as they dim, the way a halogen did. It is worth specifying on the island and the general layer, and unnecessary under the cabinets.
Color rendering matters more in a kitchen than anywhere except a bathroom mirror. Specify 90 CRI as the floor and 95 or above where you can get it. Tomatoes, beef and a walnut counter all depend on the red end of the spectrum, which is exactly where cheaper chips fall short.
Circuits and control
Put each layer on its own circuit and dimmer: general downlights, under-cabinet, island, and toe-kick as a minimum. Four zones let a kitchen go from full prep lighting to a dinner scene with two presses, and they cost very little at the wiring stage compared with adding them later. Match the driver to the dimmer before ordering. A TRIAC driver behind a standard wall dimmer is the simplest residential path; 0-10V or DALI-2 if there is a control system.
A short checklist
- Downlights over the counter edge, not the room center
- Under-cabinet strip at the front of the cabinet, in a profile with a diffuser
- Real light on the island from track or aimed downlights, whatever the pendants do
- One color temperature everywhere, hood and strip included
- 90 CRI minimum, 95 preferred
- Four dimmable zones
Send us the kitchen plan with the cabinet elevations and we will return a layout with calculated light levels on the counters, so the fixtures are right before the ceiling is closed.
Planning a project? Our lighting design service turns plans into a photometric plan, fixture schedule, and final aim. Start with a design brief.