General lighting makes a room usable. Accent lighting makes it worth looking at. In a house with good materials and a few things the owners care about, the accent layer is where most of the design effort goes, and it is also where the numbers matter most. An accent fixture a foot too close to the wall, or aimed ten degrees too steep, does not do a slightly worse job. It does a different job, usually the wrong one. These are the rules we work to.
Contrast is the whole technique
An accent works by being brighter than its surroundings. The measure is the ratio between the lit object and the general level around it. At 3 to 1 the object reads as gently emphasized. At 5 to 1 it is clearly the focus. At 10 to 1 it is theatrical, which suits a single sculpture in an entry and very little else. Above that the eye starts to read the surroundings as dark rather than the object as bright.
This is why accent lighting fails in over-lit rooms. If the general layer is already at 30 footcandles, a 5 to 1 accent needs 150 on the painting, which is more than most conservators would allow and more than any small fixture will give. Drop the general layer to 8 or 10 and the same accent works at 40 to 50. The general layer has to be dimmed for the accent layer to exist.
The 30 degree rule for anything on a wall
Light for a painting, a textile or a relief should arrive at about 30 degrees from vertical. Steeper, and the frame throws a shadow down the canvas and a textured surface shows every brushstroke as a ridge. Shallower, and the light reflects off the glass or varnish straight into the viewer's eyes, and it starts to spill onto the ceiling.
For a 9 foot ceiling and a painting centered at 5 feet, that puts the fixture about 2 feet 4 inches out from the wall. For a 10 foot ceiling, closer to 3 feet. An adjustable downlight with 20 degrees of tilt reaches the angle from that position; a monopoint spot reaches it from further out. Use a beam that matches the piece: a 25 degree beam for a canvas up to about 3 feet, 15 degrees for something smaller, and two fixtures rather than one wide beam for anything over 5 feet wide, so the ends are not darker than the middle.
Grazing: for texture
Grazing puts the fixture very close to a wall, 6 to 12 inches out, so the light skims down the surface at a shallow angle and every projection throws a shadow. It is how stacked stone, split-face block, fluted timber and heavy plaster come alive at night. The same wall washed from further out goes flat.
Three practical points. The wall must be genuinely textured; grazing a drywall surface shows every trowel mark and joint. The fixtures need to be closely spaced, 18 to 24 inches, or the light forms scallops between them. And use a narrow beam pointed straight down; a wide beam close to a wall lights the ceiling above the fixture as much as the wall below it. A recessed linear fixture in a slot along the top of the wall does the same job as a continuous line and is our usual choice where the ceiling detail allows it.
Washing: for flatness and size
Wall washing is the opposite intention. The fixture sits further out, roughly a third to a quarter of the wall height, and uses an asymmetric optic that spreads light evenly from top to bottom. The result is a wall that reads as one bright plane, without texture, and a room that seems larger because the eye judges room size from the brightness of its vertical surfaces.
Space the fixtures at about the same distance as their setback from the wall, so a run set 3 feet off a 9 foot wall goes at 3 foot centers. Washers should start about 2 feet from a corner and run the length of the wall; a wash that stops short leaves a dark band that looks like an error. Our surface downlight family includes a wall wash cylinder for ceilings that cannot be cut; in a recessed ceiling, a row of wide beam adjustable downlights tilted toward the wall does the job where a dedicated washer is not possible.
Cove and concealed linear
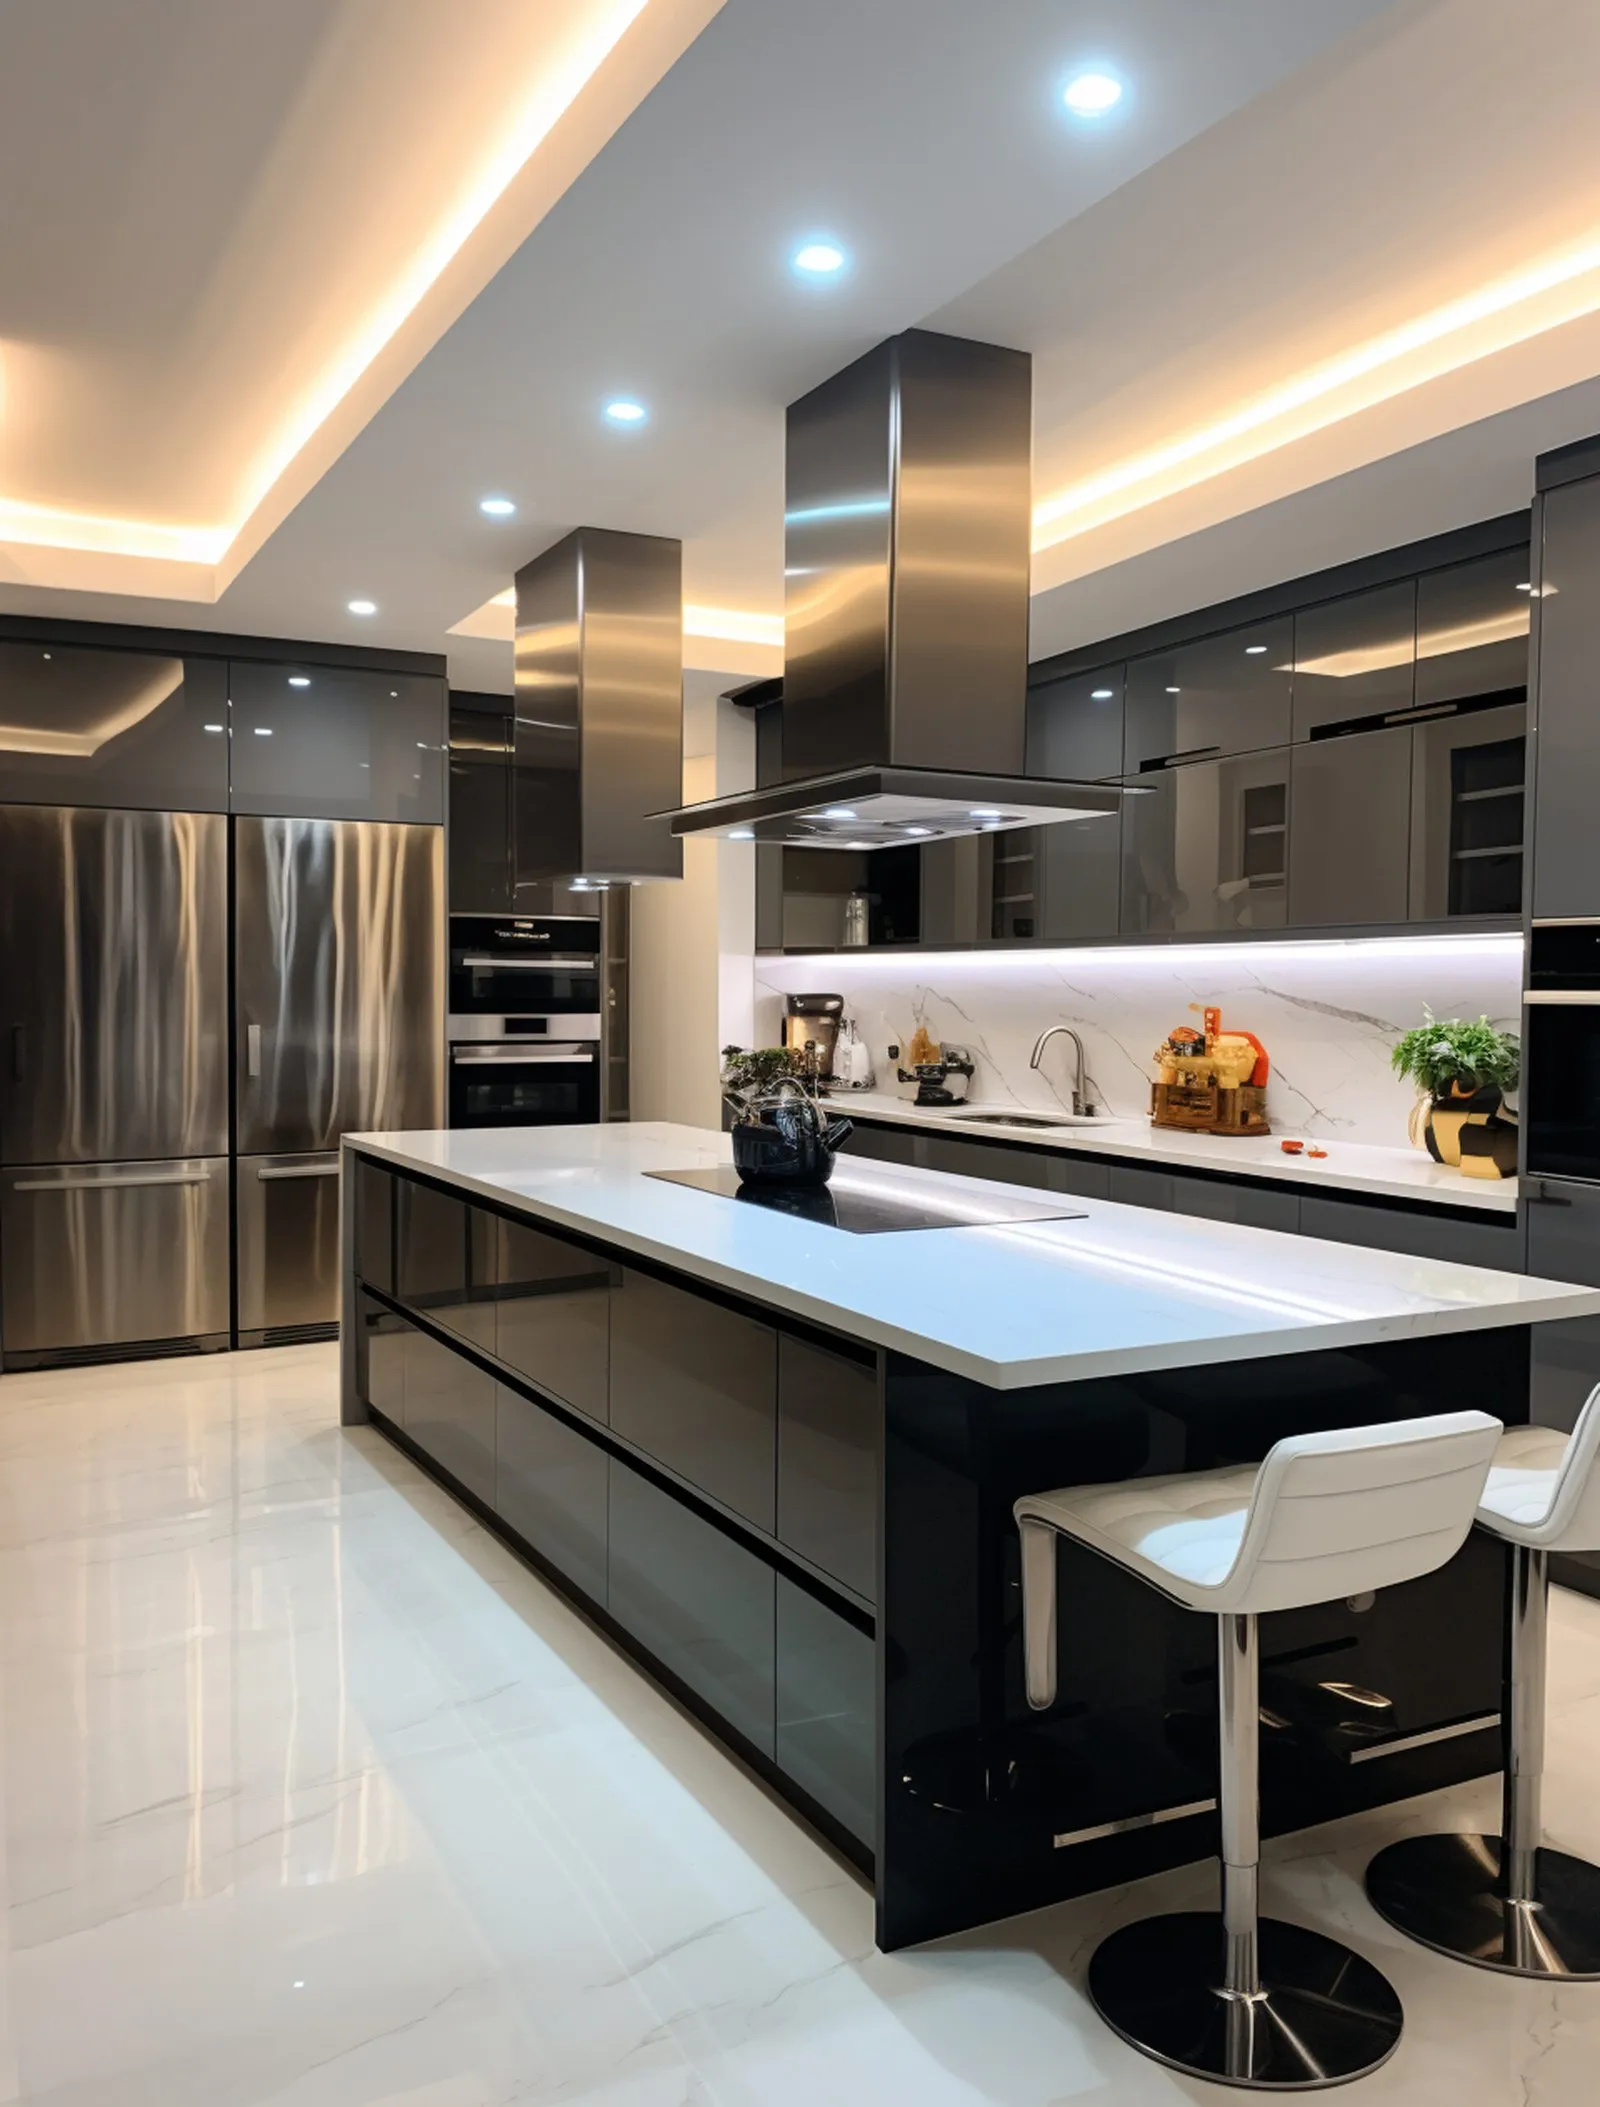
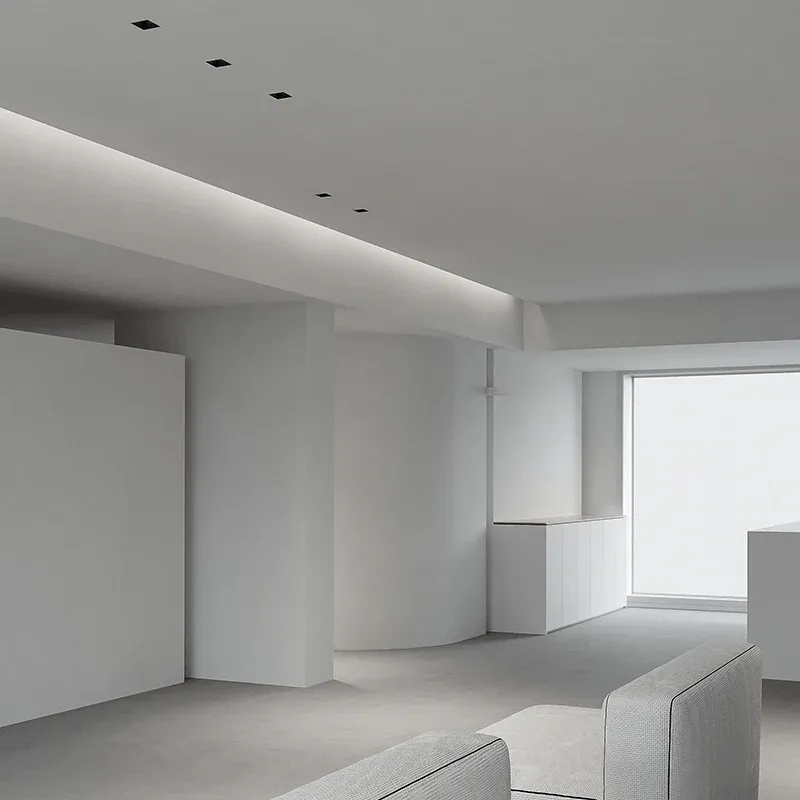
Light from a cove, a soffit or a slot puts a glow onto the ceiling or the wall with no fixture in view at all. LED strip in an aluminum profile with an opal diffuser is the source; the profile is what stops it reading as a row of dots. The rules: the strip should be at least 6 inches back from the lip of the cove so the diffuser is not visible from the floor, the lit surface should be matte, and the strip should be specified to the same CRI and color temperature as the downlights, since a cove is a large surface and any mismatch is a large mismatch.
Dim to warm strip, shifting toward 1800K as it dims, is the single most useful upgrade in a formal dining or living room, since it lets the same cove serve as a bright ceiling by day and a candlelit band at night.
Art, and what conservators will ask you
- Light levels: works on paper, textiles and photographs are usually limited to 5 footcandles; oil and acrylic on canvas to about 15 to 20. Check with the owner's conservator before lighting anything valuable.
- Ultraviolet and infrared: LED sources emit almost none of either, which removed the main argument for fiber optics on sensitive works. Confirm the fixture has no UV content on the spec sheet regardless.
- Framing projectors: a shuttered spot that can be masked to the exact edge of the canvas, so the painting appears self-lit with no spill on the frame or wall. Expensive and worth it for the one piece that deserves it.
- Color rendering: 95 CRI or better with high R9, so a red in the painting reads as the red the painter mixed.
Collections, cabinets and shelves
Objects in a case want light from above and slightly in front, at close range. A miniature LED strip along the front top edge of each shelf, behind a lip, lights each object without the source showing. For glass and crystal, a second source from below through a frosted shelf makes the material glow rather than merely shine. For metalwork, a single small spot at an angle produces the highlights that tell the eye what the material is; even light from all sides makes silver look like pewter.
Three-dimensional pieces, a sculpture or a large ceramic, want two sources at roughly 45 degrees to each other and different intensities, so the form shows through shadow. One source flattens it; three or more from all sides flatten it again.
Taking it outside
At night the windows become mirrors unless there is something lit beyond them. Uplighting one specimen tree or a wall in the courtyard, at a level that matches the accents inside, turns the glass back into a window and makes the interior feel twice its size. Keep the color temperature the same as the interior accents, use in-ground fixtures rated for burial and traffic, and put the exterior circuit on the same scene as the interior one so they dim together.
Control: where good schemes go to die
An accent layer is only as good as its dimmer. The scene has to hold the general layer at 10 percent while the accents sit at 60, and the fade between scenes has to be smooth. That means every layer on its own zone, drivers that dim to 1 percent without stepping or flicker, and a control system with scene recall: DALI-2 or a wired system for a whole house, Casambi where a wireless system is preferred. Specify the driver and the control together; a TRIAC dimmer on a driver expecting 0-10V is the commonest reason an accent layer flickers at the low end.
Material by material
- Marble and onyx: backlight the translucent varieties with a diffuse panel behind them; graze the opaque ones.
- Timber: warm light, 2700K or dim to warm, at a low angle across the grain.
- Plaster: wash it, never graze it, unless the finish was designed to be grazed.
- Textiles: low level, warm, and from the side to show weave.
- Metal: one directional source, not a wash, and high CRI so brass and bronze do not read as the same color.
Done well, none of this is noticed. The room simply looks like it has good bones and the owners have good taste. Send us the elevations and we will return aiming positions and beam angles for each piece, so the fixtures are right before the ceiling closes.
Planning a project? Our lighting design service turns plans into a photometric plan, fixture schedule, and final aim. Start with a design brief.