Creating Drama and Dimension: Strategic Lighting with Spotlights and Recessed Downlights
March 17, 2025 · 6 minute read
The rooms people photograph are never evenly lit. Look at any interior you admire and you will find bright surfaces next to dark ones, a pool of light on a table and shadow in the corners, a wall glowing while the ceiling stays quiet. Uniform light is what a supermarket has. Depth comes from contrast, and contrast comes from deciding where the light goes and, just as deliberately, where it does not.
Spotlights and recessed downlights are the tools for this because they are directional. A pendant or a flush mount throws light everywhere. A downlight with a real optic throws it in a defined beam at a defined place, and a spotlight does the same with a narrower beam and the ability to aim. Here is how we use them.
The numbers behind contrast
The eye reads brightness relative to its surroundings, not in absolute terms. An object lit to three times the level of the wall behind it reads as gently emphasized. At five times it is the clear focus of the room. At ten times it is theatrical. The important consequence is that the general level has to be low for any of this to work. A living room sitting at 5 to 10 footcandles across the floor leaves room for a painting at 40 and a dining table at 30. The same room at 30 footcandles everywhere has nowhere left to go.
So the first strategic decision is not where to add light. It is how low the general layer can sit. Most residential rooms are over-lit by a factor of two or three, and the dimmer is the most important fixture in the scheme.
Spotlight techniques
Accent on an object
A 15 degree beam from a 9 foot ceiling makes a pool about two and a half feet across, which is the right size for a sculpture, a vase on a console, or the center of a dining table. Aim it so the edge of the pool falls just beyond the object, not on the wall behind it. A spot that also lights the wall loses half its effect, because the object no longer stands against a darker ground.
Accent on a wall piece
For a painting or a relief, place the fixture so the light arrives at about 30 degrees from vertical. From a 9 foot ceiling that is roughly 2 feet 4 inches out from the wall for a piece centered at eye level. Steeper puts frame shadow across the canvas; shallower reflects off the glass into the viewer's eyes. Use a beam matched to the piece, 25 degrees for something around 3 feet, and two fixtures rather than one for anything wider than 5 feet.
Task light with atmosphere kept
A single narrow spot on a reading chair, or on the prep end of a kitchen counter, gives 30 or more footcandles exactly where it is needed while the rest of the room stays at 8. It is the opposite of turning up the whole room to read, and it is why a spot over an armchair makes a room feel more intimate rather than brighter.
Washing a wall
Several wide-beam spots or dedicated wash optics, set about a third of the wall height out from the wall and spaced at the same distance, lay an even sheet of light down a wall. It is the single most effective way to make a room look larger, because we judge the size of a room from its vertical surfaces. Washed walls also reflect light back into the room softly, which lets the general layer of downlights drop further.
Recessed downlight strategies
Perimeter rather than center
Run the downlights around the edge of the room, 2 to 3 feet off the walls, and leave the middle of the ceiling empty. The walls take the light and the room reads as larger and calmer. The seating in the center gets its light from lamps and from the washed walls, which is where people want light at night anyway. A grid centered on the room does the reverse: it lights the floor, the ceiling is the brightest surface, and the walls fall away into gloom.
Pathways
A line of small-aperture downlights along a corridor or through an open plan, spaced at 4 to 5 feet, draws the eye and the feet along it. It is wayfinding and rhythm at once. Use a narrow beam so each fixture makes a distinct pool on the floor; a wide beam merges them into a runway.
Zones in an open plan
An open plan has no walls to define its rooms, so the light has to. A tight cluster of three downlights over a dining table, a different rhythm of spots over the kitchen island, and a lower, warmer wash at the sofas make three rooms out of one without a partition. Each zone on its own dimmer, so the kitchen can be off while dinner is on.
Shadow on purpose
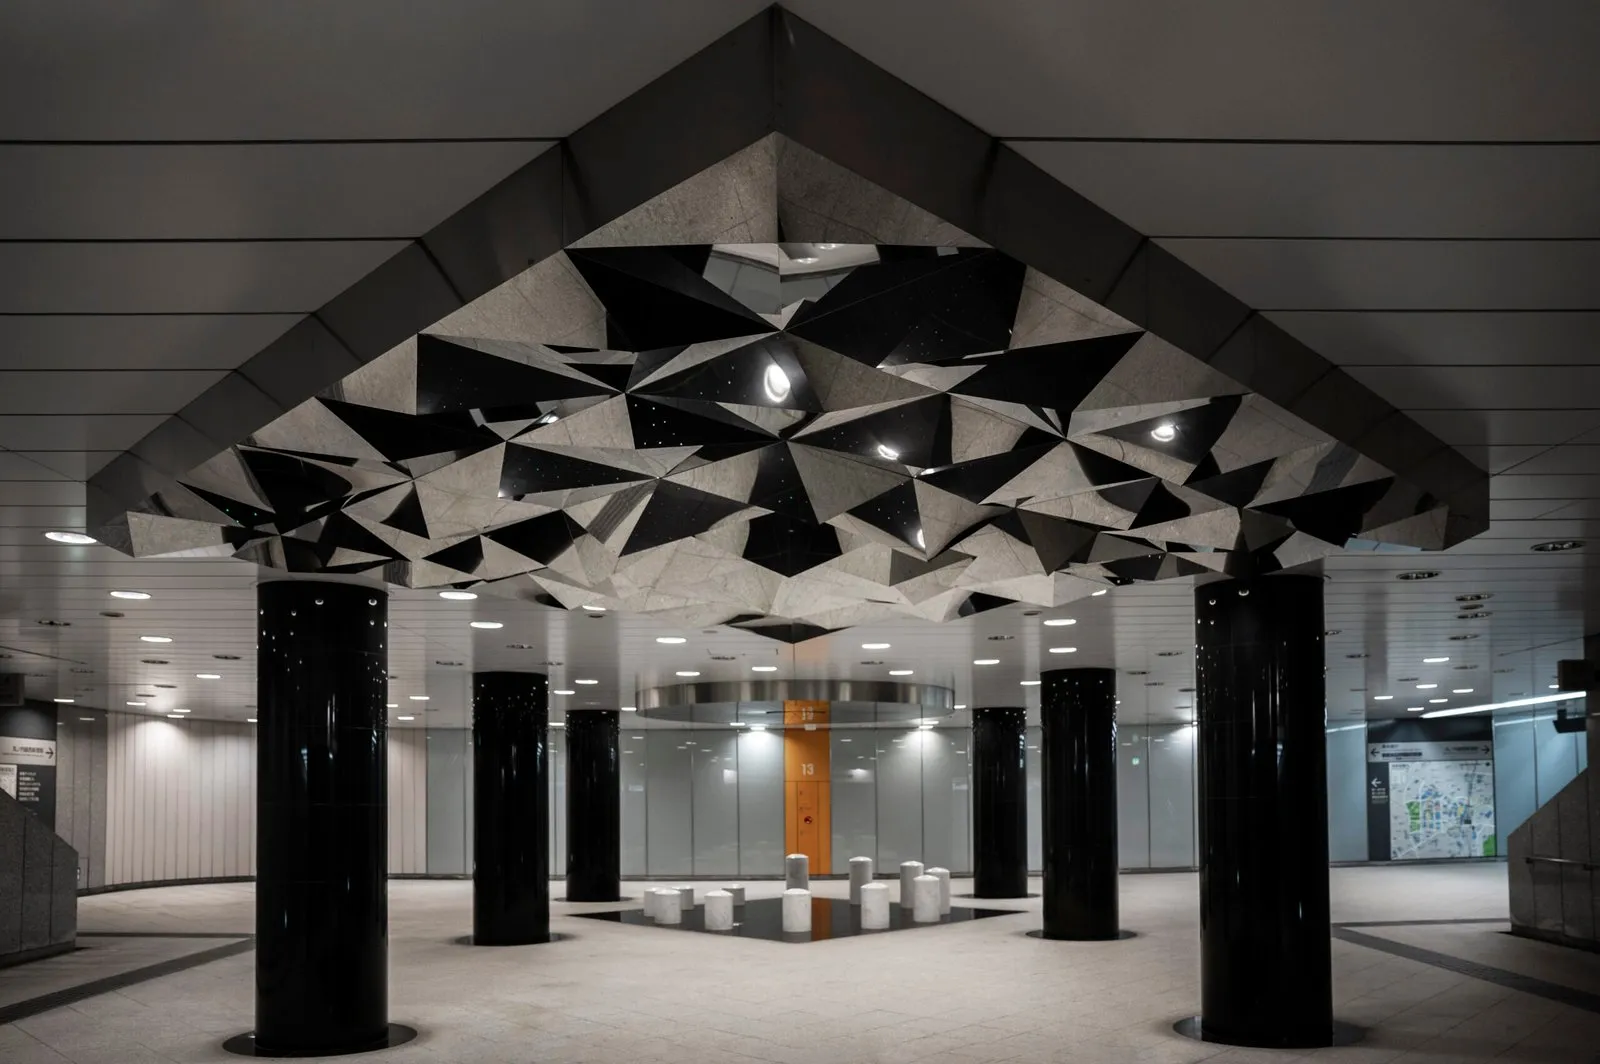
Decide which corners stay dark. A room with two dark corners feels intimate; a room with none feels like a waiting area. Grazing light down a textured wall, a narrow beam that stops just short of the ceiling, a cove that lights the ceiling but not the wall below it: these are all ways of putting a shadow where it will do some good.
Building the plan
- Name the focal points. Two or three per room, no more. Everything else is background.
- Mark the activity zones on the plan: where people read, cook, eat, talk.
- Set the general level low, 5 to 15 footcandles in living spaces, and plan for the walls to carry it.
- Aim the accents: 30 degrees for wall pieces, tight beams for objects, pools that stop at the edge of the thing being lit.
- Put every layer on its own dimmer, and write three scenes: day, evening, late.
Fixture details that make the difference
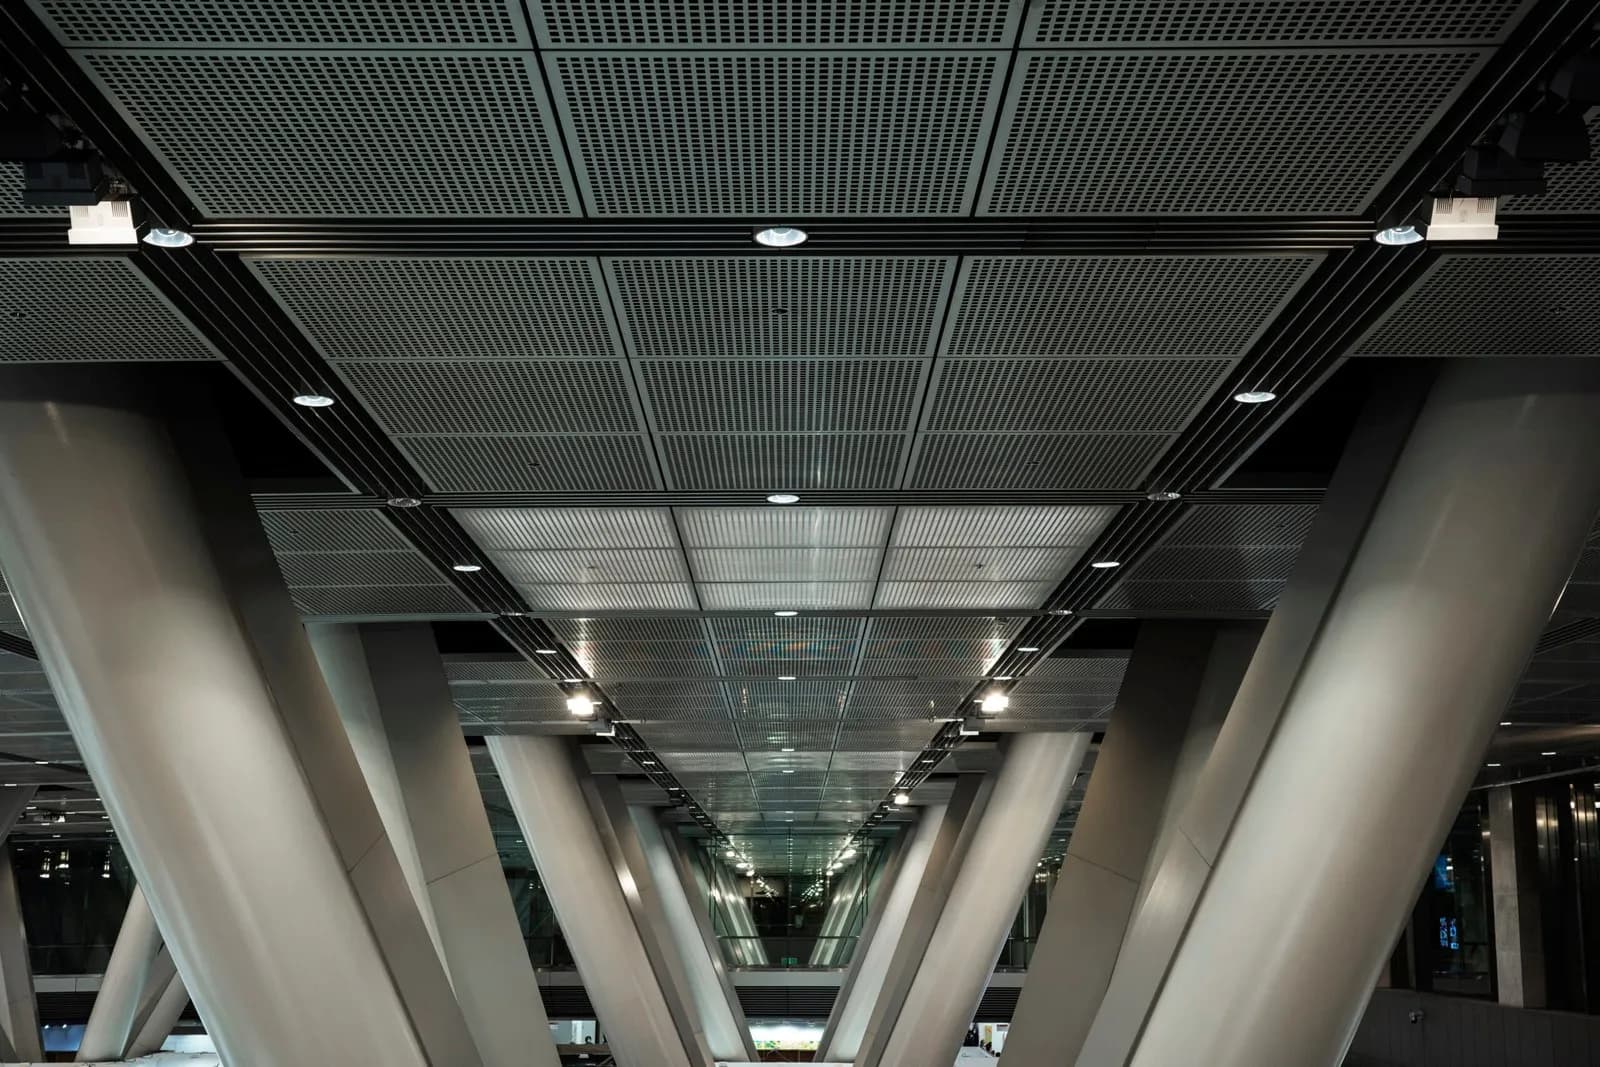
Small apertures and deep regress. A 3 inch downlight with the chip set well back behind a black reflector shows a dark hole from across the room rather than a bright disc, which keeps the ceiling out of the composition. Where the ceiling should stay almost unbroken, a 1 inch aperture or a pinhole does the same job at a smaller scale.
Beam options. Our downlights and spots run from 15 to 80 degrees. The narrow end is for the accents above; the wide end for the perimeter wash. Choosing one beam for everything is how a scheme ends up flat.
Color. High CRI, 95 or better, so the contrast is between light and dark rather than between accurate color and grey. And one color temperature throughout, with dim to warm on the general layer so the evening scene goes amber without a second set of fixtures.
Three rooms
Living room
Perimeter downlights on the two long walls, two adjustable fixtures on the art, a spot on the reading chair. General layer at 8 footcandles in the evening scene, accents at 40. Corners furthest from the seating left dark.
Kitchen
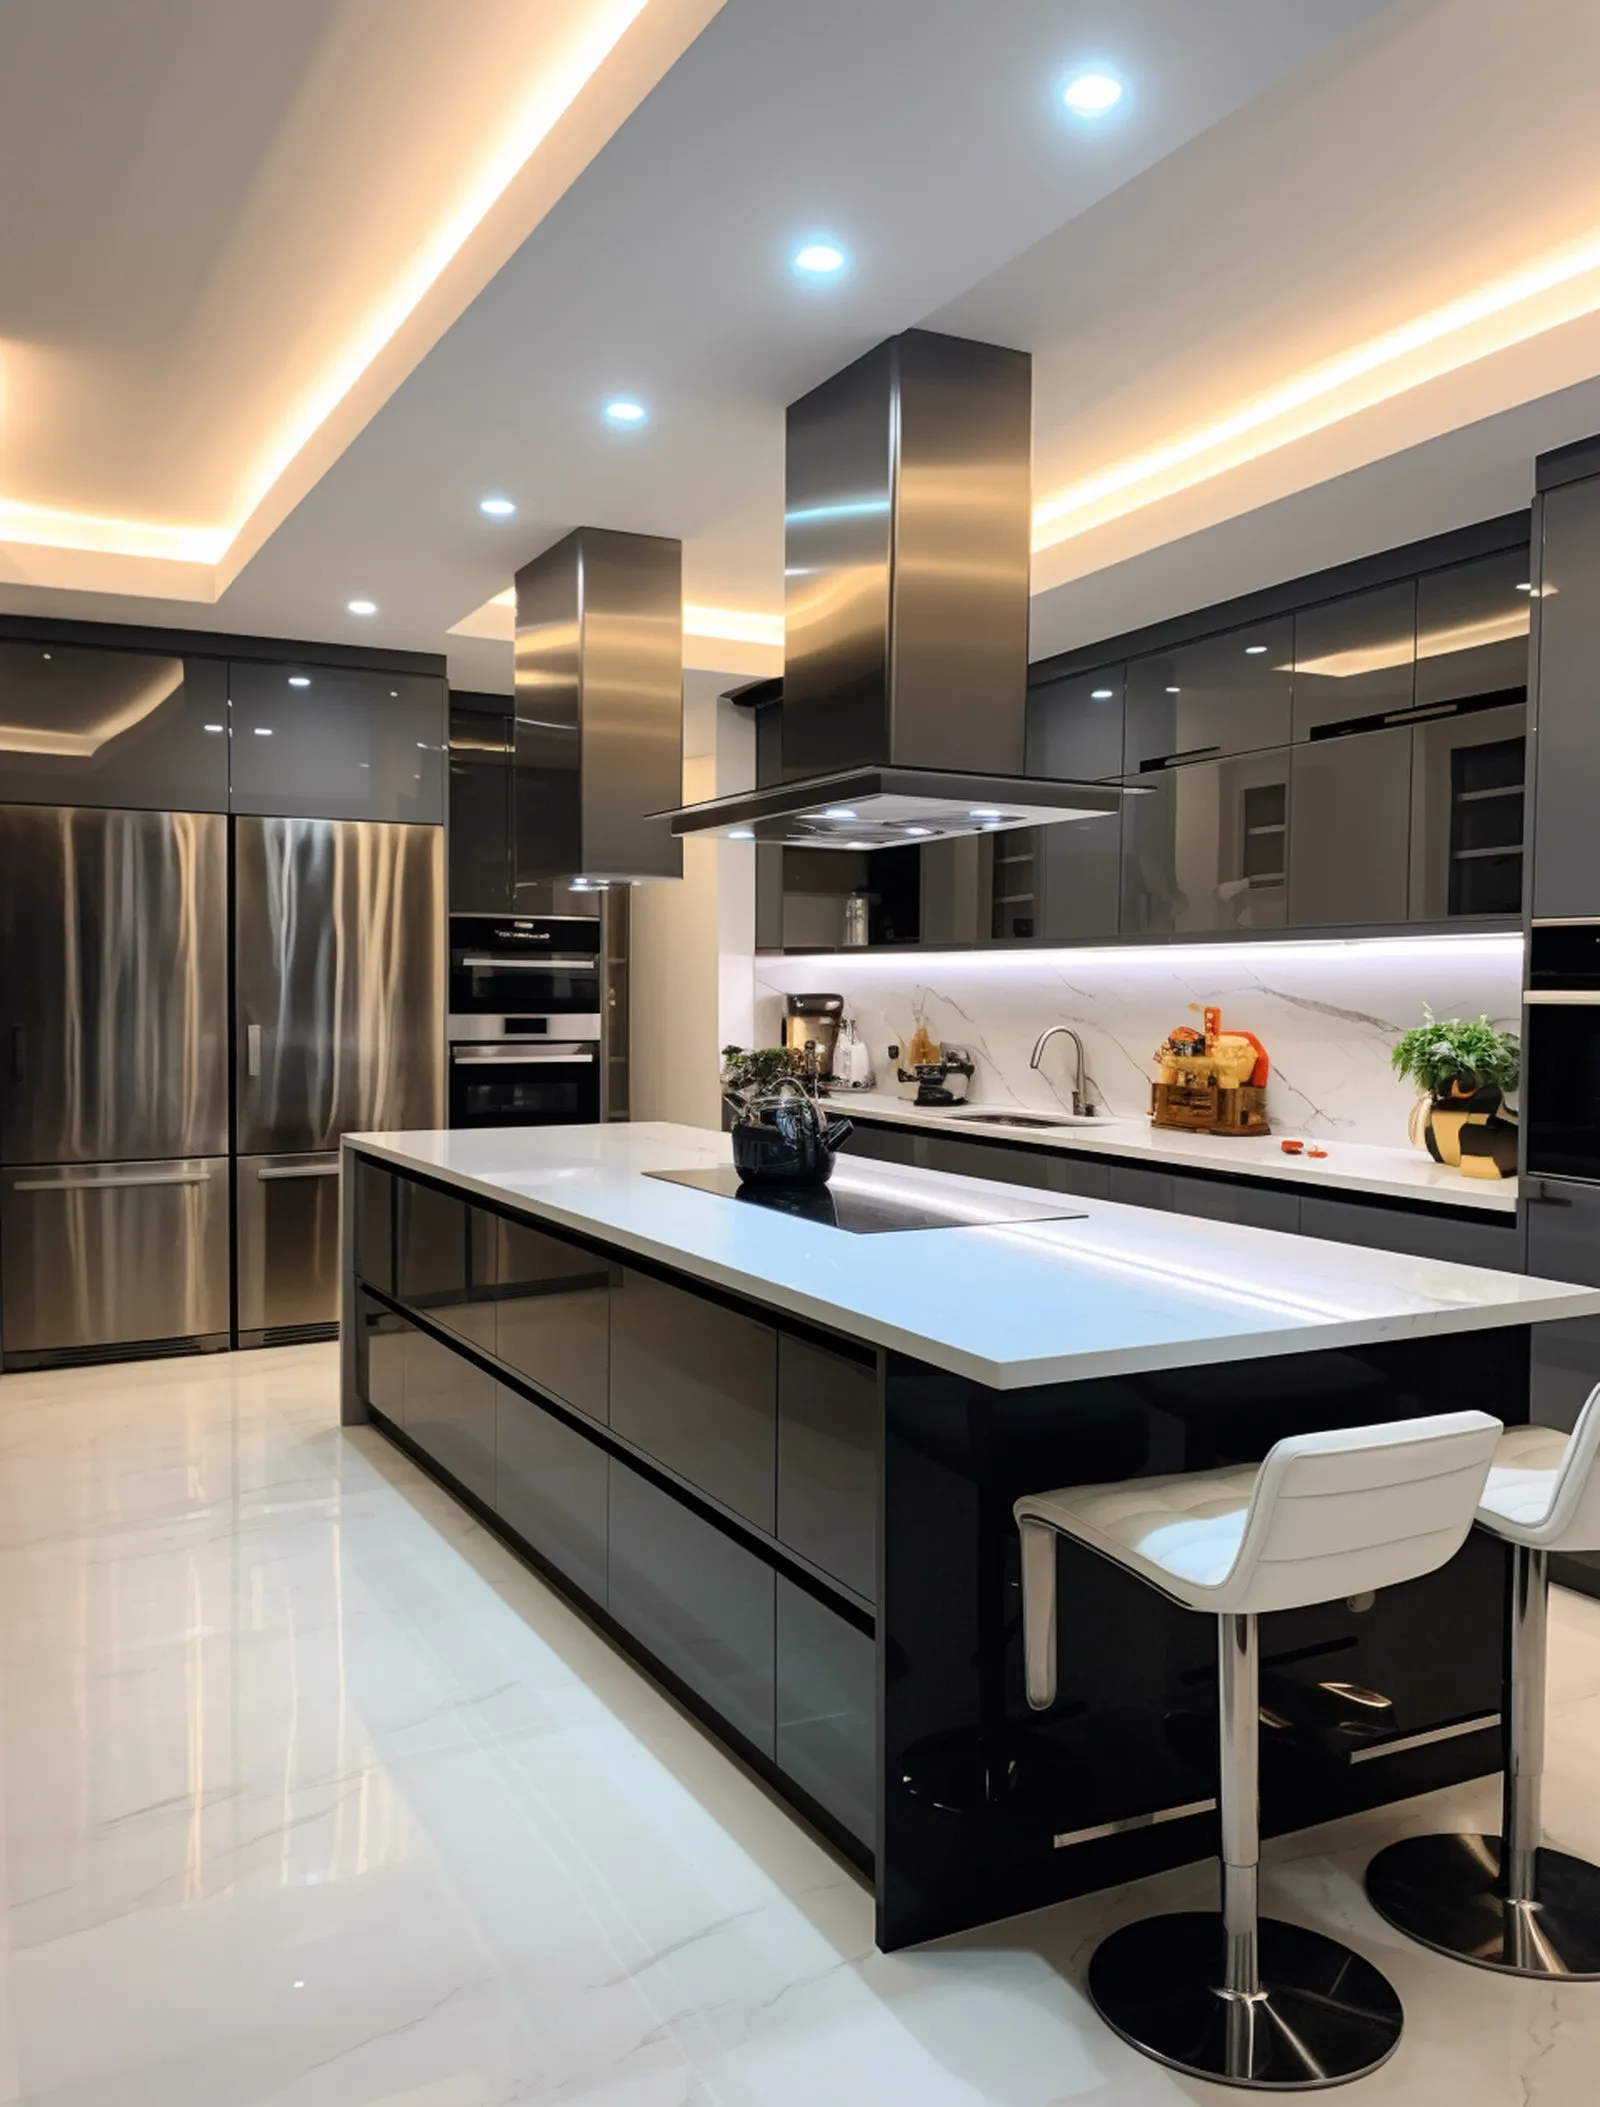
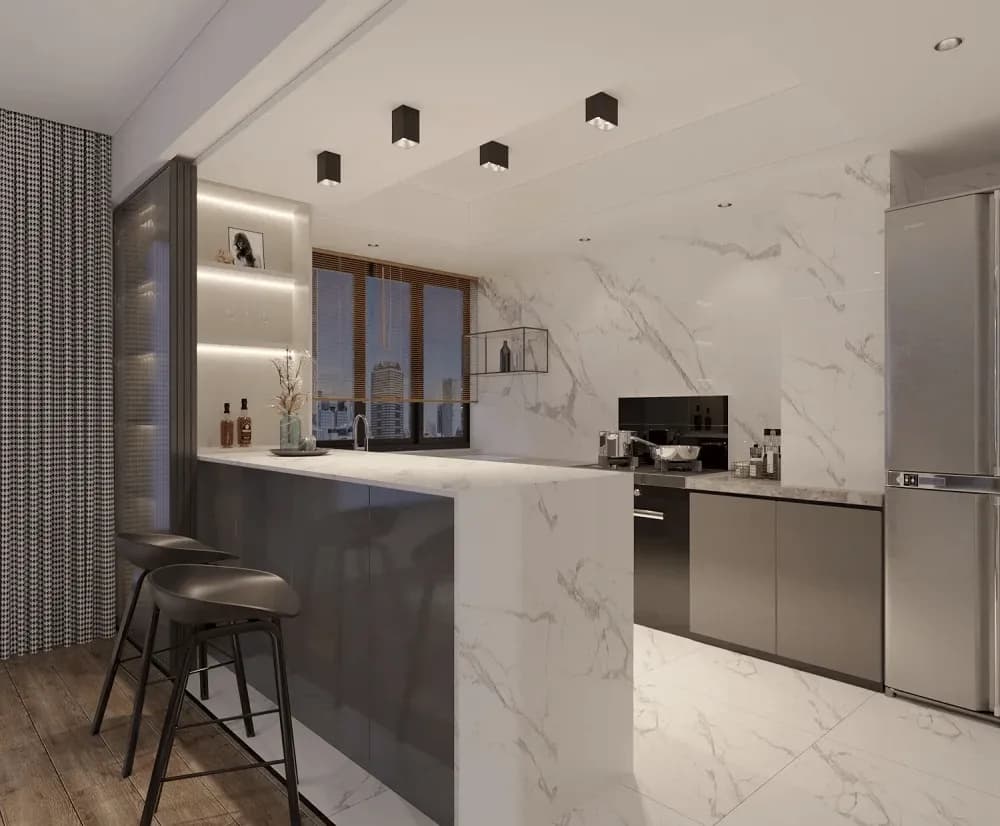
Downlights over the counter edge at 40 footcandles for prep, three tight spots over the island, under-cabinet strip for task. In the evening scene the counter fixtures drop to 10 and the island stays at 25, so the room reads as a dining space with a kitchen behind it.
Bathroom
Light at the mirror from the sides or a wash down the vanity wall, so faces are lit from the front rather than from above. Everything else low: one downlight in the shower, a strip under the vanity for a night scene. The contrast between the bright mirror and the quiet room is what makes a bathroom feel like a spa rather than a clinic.
None of this needs many fixtures. It needs the right beam in the right place, a general layer that knows its role, and a dimmer for each layer. Send us the plan and the elevations and we will return aiming positions and beam angles, with the light levels calculated so the contrast is designed rather than hoped for.
Planning a project? Our lighting design service turns plans into a photometric plan, fixture schedule, and final aim. Start with a design brief.